| ||||
> Jensen Healey & Jensen GT Tech > Engine & Transmission > ARP Head Stud Installation Procedure (Lotus 907 Jensen Healey) |
| ||||
> Jensen Healey & Jensen GT Tech > Engine & Transmission > ARP Head Stud Installation Procedure (Lotus 907 Jensen Healey) |
| Moderated by: Greg Fletcher |
|
||||||||||||||
| ARP Head Stud Installation Procedure (Lotus 907 Jensen Healey) | Rate Topic |
| Author | Post |
|---|
| Posted: 04-27-2020 10:46 pm |
|
1st Post |
|
discogodfather Member
|
I've been researching installing this ARP head stud kit I just received and there are a few things that are confusing. I am using the Goetze newer gasket (actually this one is black so maybe a knockoff?) Hopefully this can turn into a reference for anyone else looking once this process is confirmed. 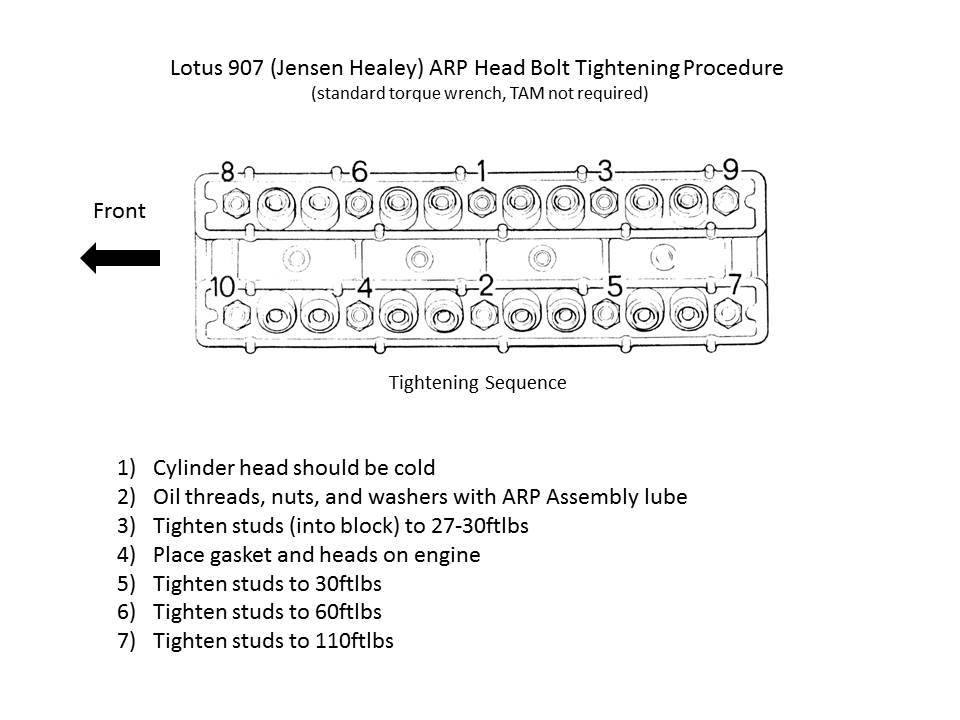 I called JAE to ask them what they thought the procedure should be. The person on the phone said go 30ftlbs, 60ftlbs, then end at 110ftlbs. They said no torque angle gauge necessary. They did not know the initial torque for the stud in the head? ARP on their website and in general recommends just hand tightening on the studs. They also recommend to thread chase the block threads (with a thread chaser and not a tap) and then fit the gasket and head on, then from the top feed in and and tighten the new studs, a technique to insure no damage to the top threads is sustained as the head it put on. I called ARP and they said they had zero information, and told me to get specs from original seller, which is JAE. Last edited on 04-28-2020 05:10 am by discogodfather |
||||||||||||||
| |||||||||||||||
| Posted: 04-28-2020 12:18 am |
|
2nd Post |
|
Esprit2 Member
|
Disco. I posted that? The tightening sequence is correct, center-out in a criss-cross pattern, regardless of the type of gasket used. But the torque spec is for the Composite gasket with the Lotus 1993-onward B-prefix studs (identifiable by a spherical dimple milled in the upper end), and the Lotus-specified Torque Angle Meter instead of a torque wrench. The equivalent torque in lbs-ft would be similar to the ARP spec, but a little low. If you're using ARP studs, then apply ARP's Assemblly Lube to the threads and to both faces of the thick washers. With the current ARP Assembly Lube, torque the nuts to 110 Lbs-ft (more on that below). Always work up to the final torque level in several smaller steps. JAE recommended 30/ 60/ 110 ftlbs, and I wouldn't object to that. I torque them in four steps, with the final one being much smaller... from 100 lbs-ft in the 3rd step, to 110 in the 4th. Just a small 'finisher' step. ARP has changed it's assembly lube formula a couple of times, modifying the coefficient of friction, then the torque spec was revised appropriately. The torque you use depends upon the lube you have. The ARP studs are all the same, the lube is the variable. If you have lost the instructions that came with your ARP studs & lube, then don't guess. Order some fresh, current ARP lube, and use the torque spec that comes with it. Please point me to the message in which I posted the above illustration. It would be about right "IF" you owned a Torque Angle Meter and wished to use it per the Lotus spec. But ARP currently calls for a regular torque wrench, "their lube!!", and 110 Lbs-ft. NONE OF THE ABOVE will work with original OEM J-H head studs. The later, 1993-onward Lotus torque angle meter spec (illustration in previous messate), and all ARP torque specs will yield the original studs. If you have an early steel-asbestos-steel (SAS) head gasket (Bruce Madden has a few in stock), then do NOT use the torque spec given in the J-H Workshop Manual. It's too high, risks yielding the head studs, and crushes the SAS head gasket. For the SAS gasket, use Lotus' torque spec. Lotus - With Oiled threads & washers: (Original Steel-Asbestos-Steel Gasket) 70 lbs-ft ( 9.7 kgf-m) Front & Rear Pairs. 75 lbs-ft (10.4 kgf-m) Three Middle Pairs. Regards, Tim Engel Last edited on 04-28-2020 12:28 am by Esprit2 |
|||||||||||||
| ||||||||||||||
| Posted: 04-28-2020 12:39 am |
|
3rd Post |
|
discogodfather Member
|
Thanks for clarifying Tim. I made that graphic but it seems as usual I am confusing different things, obviously that procedure is for the 93 and up Lotus specs. I'll revise the image to include the JAE recommended specs, which was 30/60/110lbs. Still in the dark about what kind of initial torque goes on the actual stud to the block. ARP won't give any information, they say that they have no data for the Lotus 907? They said to follow what the reseller advised.
|
||||||||||||||
| |||||||||||||||
| Posted: 04-28-2020 04:12 am |
|
4th Post |
|
discogodfather Member
|
Also, the lower end of the head stud threads to the block with a M12 X 1.75 thread, and ARP sells a chaser for that thread ARP part # 912-0011.
|
|||||||||||||
| ||||||||||||||
| Posted: 04-28-2020 05:01 am |
|
5th Post |
|
Esprit2 Member
|
Disco, The head stud into the cylinder block is 27-30 Lbs-ft with oiled threads, same as for a standard stud. Once the stud is installed into the head, the real work begins... you torque the head down with some muscle. Go here to download a couple of files that might help you with what torque to use when... https://tinyurl.com/yb6g88eu https://tinyurl.com/ybbb9gmd A 'box' icon with three dots in it will appear in the right margin. Click on it to open a drop-down menu, then click on 'Download'. Regards, Tim Engel Last edited on 04-28-2020 06:09 am by Esprit2 |
||||||||||||||
| |||||||||||||||
| Posted: 04-28-2020 02:06 pm |
|
6th Post |
|
Brett Gibson JH5 20497 Member
|
Side Note, dry fit the head on the block with the gasket in place and make sure that the seal bead is not exposed, it runs around the perimeter of the gasket. Should it be or if you just want a better seal satisfaction feeling, use Permatex brown gasket compound as well. I ran into this issue with my install but luckily I had used the Permatex so all was well. Brett.
|
|||||||||||||
| ||||||||||||||
| Posted: 04-29-2020 06:16 pm |
|
7th Post |
|
PF18602 Member
|
Brett, I was wondering about that. The seal on my new composite gasket runs outside of the head around that oil hole. Is there an exact name for “permatex brown?” Is it the copper pray a gasket? Or the aviation liquid sealant #3? Looking through permatex’s flow chart, these are the two that make sense to me. https://441py33rout1ptjxn2lupv31-wpengine.netdna-ssl.com/wp-content/uploads/2016/03/2016-Product-Guide-GasketDressing.pdf Also, did you put it on the whole gasket or just in that spot? I imagine the spray would go on the whole thing. Thanks! Patrick Last edited on 04-29-2020 06:16 pm by PF18602 |
||||||||||||||
| |||||||||||||||
| Posted: 04-30-2020 02:13 pm |
|
8th Post |
|
Brett Gibson JH5 20497 Member
|
Patrick, that would be the form a gasket aviation, and yes I used it ALL around the sealing surface, figured it couldn't hurt and would almost guarantee a seal. Plus Tim Engel recommended it's use.
|
|||||||||||||
| ||||||||||||||
| Posted: 04-30-2020 05:56 pm |
|
9th Post |
|
PF18602 Member
|
Thanks Brett! And Tim! You all are always such a wealth of knowledge. Very helpful to us newbies. As a side note, my new studs that I got from JAE did not have the indentation on the top that we've heard about. Nor does it have a hole to accept an allen key. Therefore, there was no easy way to torque the new studs without marring the stud itself, short of threading on the new nut and cranking down. Is this what people do? I was worried about hurting the threads in the nut or on the stud. When I called ARP, the tech said that just hand tight would be acceptable....Tim? Best, Patrick
|
||||||||||||||
| |||||||||||||||
| Posted: 05-01-2020 01:37 pm |
|
10th Post |
|
Brett Gibson JH5 20497 Member
|
If you mean tightening the new studs into the block, ? then just double nut them and tighten down that way. Brett
|
|||||||||||||
| ||||||||||||||
| Posted: 05-01-2020 01:56 pm |
|
11th Post |
|
discogodfather Member
|
I did, thanks Brett. Used the ARP nuts to tighten to 27ft lbs which seemed just about right. They all sit at around 1mm difference in height, most of them a little less. I chased the threads with the ARP tool- good idea because there was alot of crud in there. I cleaned and blew out the rest of the garbage. They threaded in ok, a little stiff at times. I can see why Tim recommended torqueing them, if you just go hand tight your no where near the bottom in most. They get really tight and you feel like your done turning it with your hand, then notice they are 3/4" height difference. They really are a work of art, just so crazy expensive. 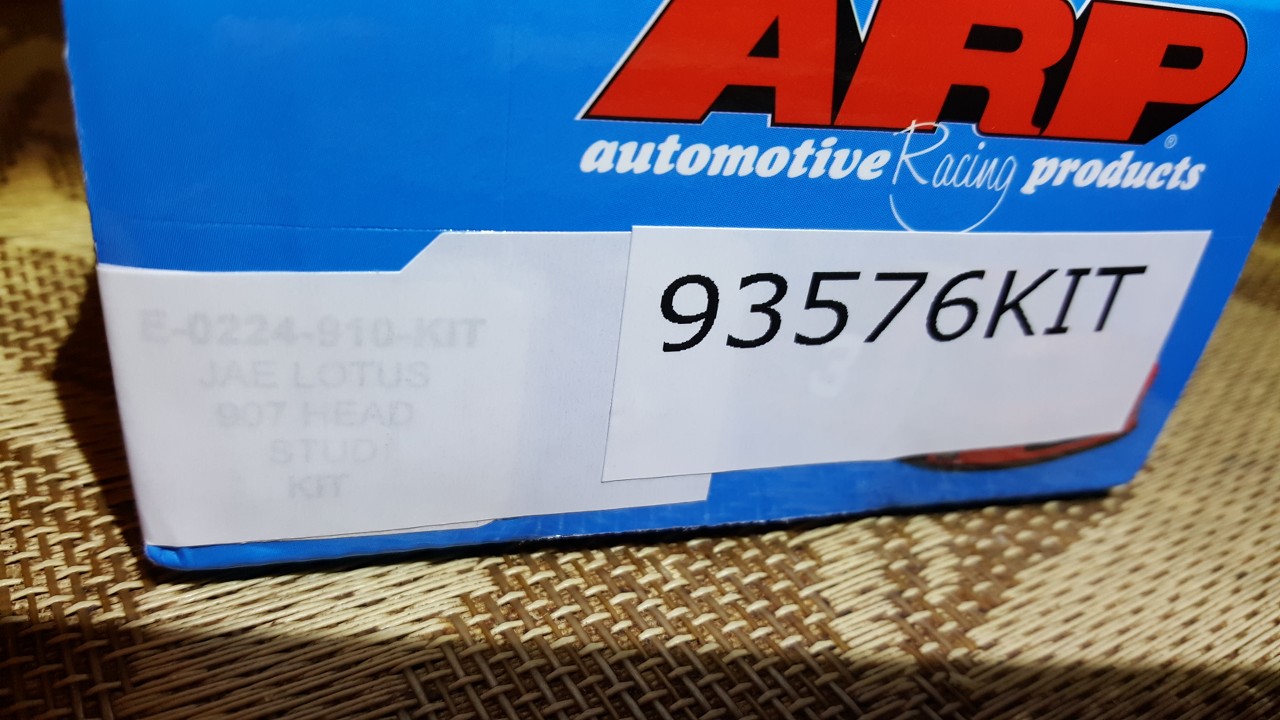 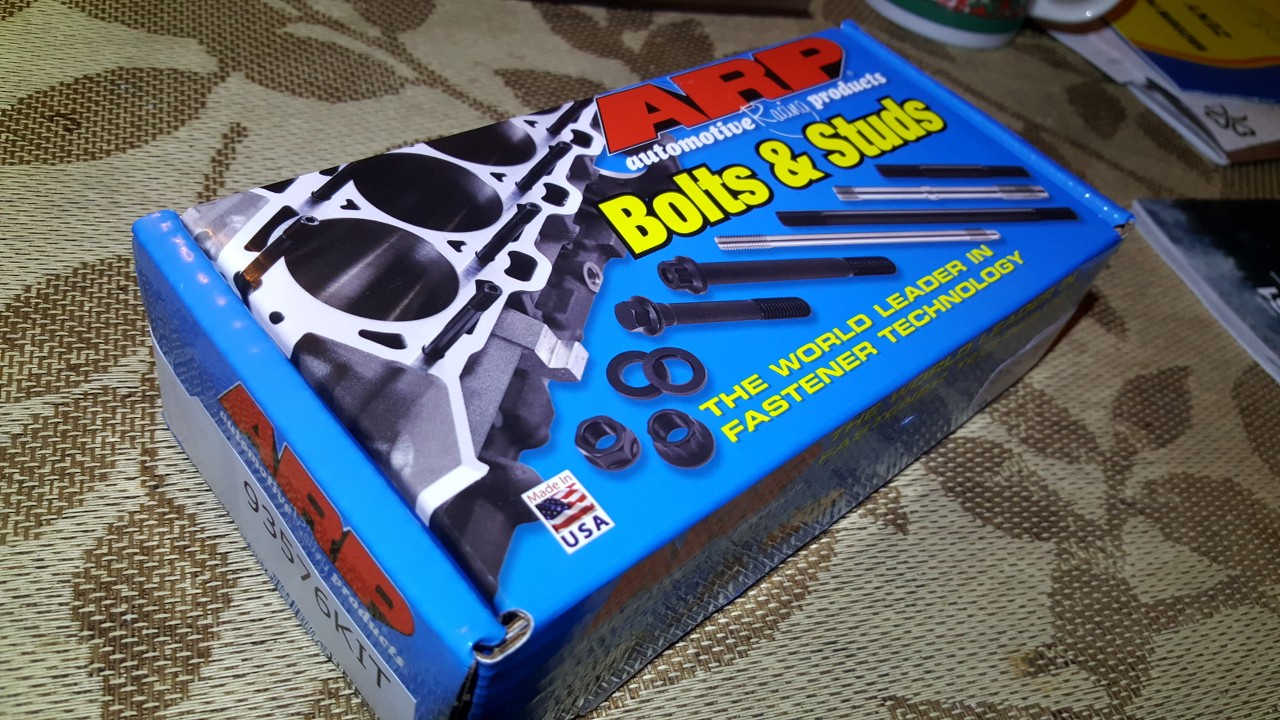 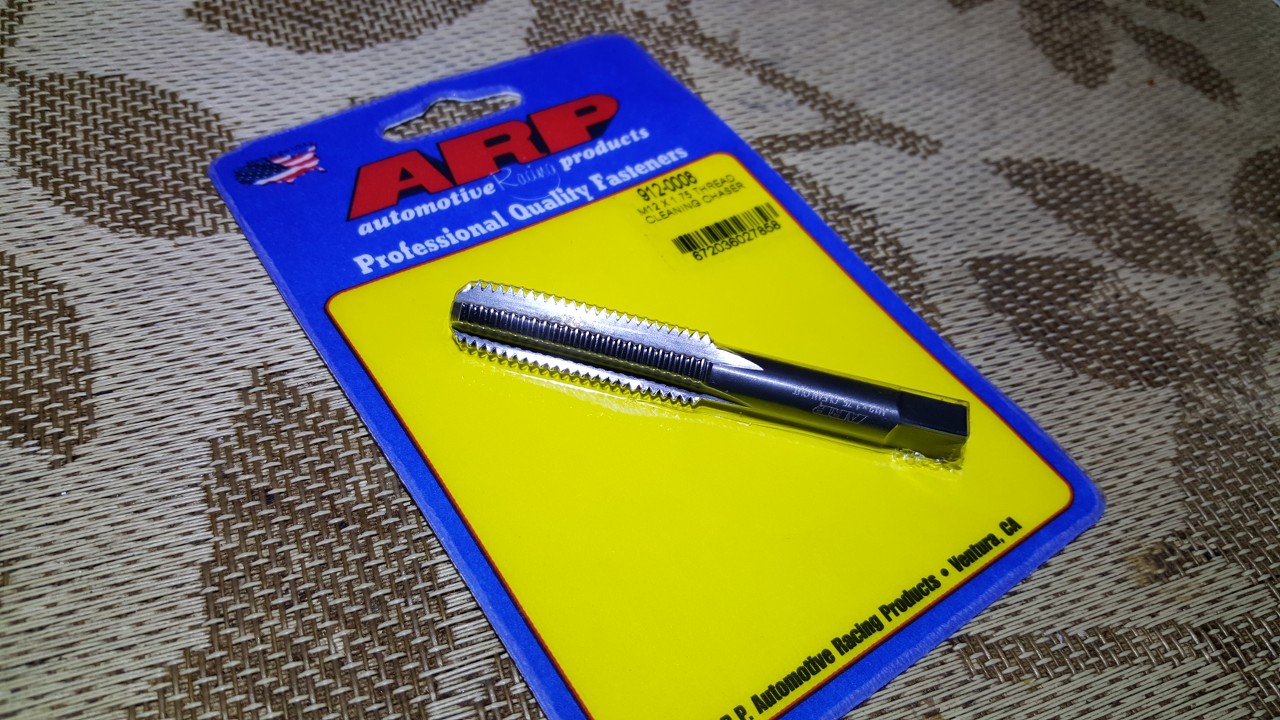  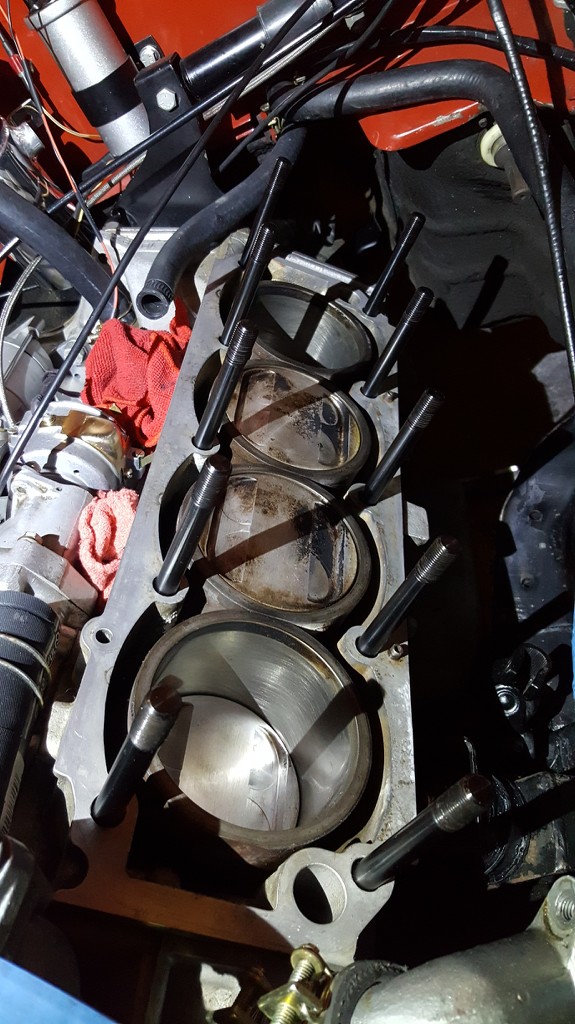
|
||||||||||||||
| |||||||||||||||
| Posted: 05-02-2020 07:00 am |
|
12th Post |
|
Esprit2 Member
|
The brown goo is Permatex Aviation Form-a-Gasket. It's readily available at auto parts and hardware stores. It has a sister product called Super 300 Form-a-Gasket that is thicker and more viscous. I've used both with good results, but Aviation Form-a-Gasket is my default. Regards, Tim Engel
|
|||||||||||||
| ||||||||||||||
| Posted: 05-04-2020 04:31 pm |
|
13th Post |
|
PF18602 Member
|
Thanks Brett and Tim. I had forgot about the option to double nut the studs, although I’ve never had great success with that method. It worked last night though! Just took a few threads for it to bite. And then it’s a bit tough to not just undo the torqued stud when you try to back the nuts off. Found that getting a wrench on the lower one and tightening that one while having some “loosening” pressure on the top on worked well to break the bind. Always learning! Patrick
|
||||||||||||||
| |||||||||||||||
| Posted: 05-05-2020 02:07 am |
|
14th Post |
|
Esprit2 Member
|
There is some risk of thread damage if you double nut it. Given the price of ARP studs, treat them well. There are tools made for the job, such as the Lisle 71200, Powerbuilt 648639, and Ares 70016 (Google 'em). Regards, Tim Engel Attachment: Tool - Stud Installer-Remover - Lisle 71200, .25-.75 Inch - 83kb.jpg (Downloaded 59 times) Last edited on 05-05-2020 02:08 am by Esprit2 |
|||||||||||||
| ||||||||||||||
| Posted: 05-05-2020 02:09 am |
|
15th Post |
|
Esprit2 Member
|
And another... Attachment: Tool - Stud Installer-Remover - Ares 70016, .25-.50 Inch.jpg (Downloaded 60 times)
|
||||||||||||||
| |||||||||||||||
| Current time is 05:48 am | |
| > Jensen Healey & Jensen GT Tech > Engine & Transmission > ARP Head Stud Installation Procedure (Lotus 907 Jensen Healey) | Top |